
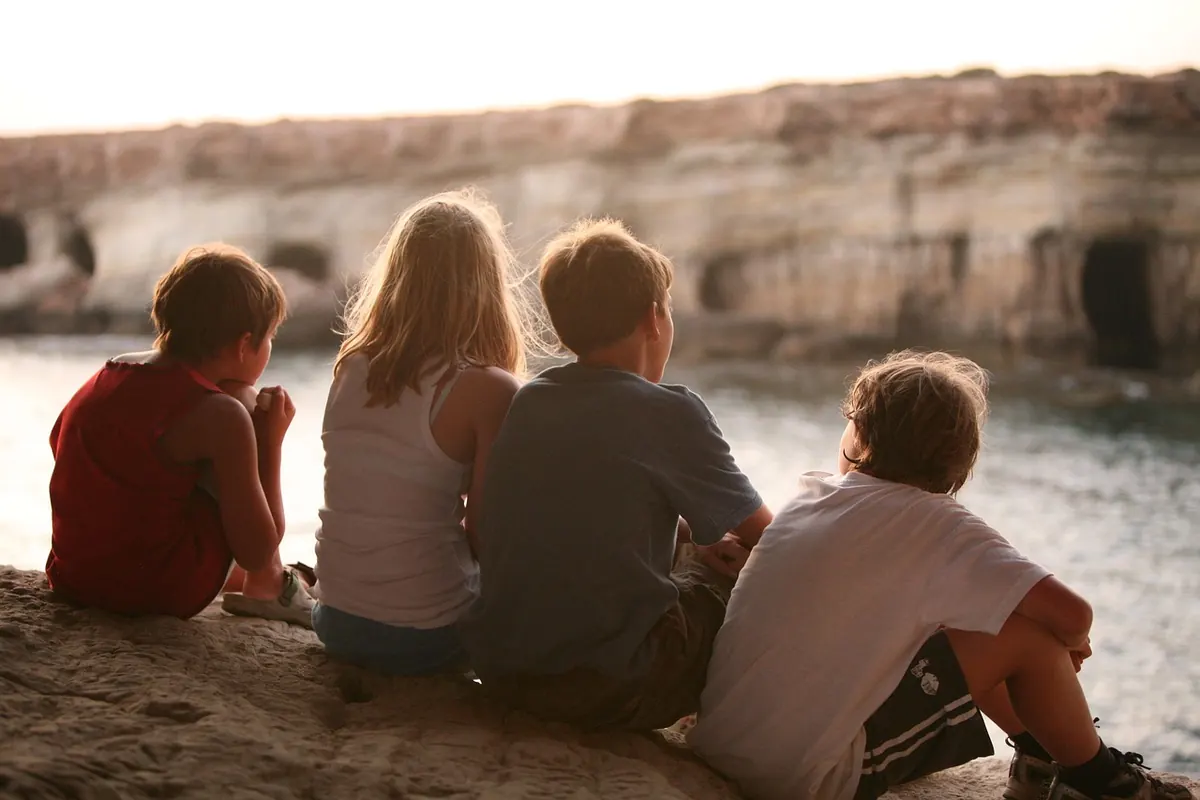
Somewhere between the last wave and the dry rock, there's a world running on a different clock. A child crouches with her nose almost in the water, a blenny flicks sideways behind a curtain of weed, and then comes the shout. Rockpooling costs nothing, works in most weather and turns a two-hour window on a rocky beach into the best part of a week. Done carelessly, it ends with a stressed starfish in a plastic bucket and a sulky walk back to the car. The difference is timing, care, and knowing what to do with what you catch — which is, mostly, nothing at all.
Start with the tide table, not the bucket
Rockpools exist because the tide goes out, so the tide decides everything. The hour either side of low water is your window: the pools are at their lowest, the animals are still wet, and you have time to look properly rather than snatch a glance.
Spring tides, arriving around a new or full moon, pull the water further down the shore and expose pools that are underwater for most of the month. They are the best days to go. Neap tides a week later leave far less behind, and the same beach can feel disappointingly bare.
Check a table for the beach you're visiting rather than the nearest town. Low water can differ by well over an hour along a single stretch of coast, and harbour offices, local papers and online tables all carry the times. Arrive about an hour before low water, explore as it turns, and leave while the water is still well below you. On a gently sloping beach the flood moves faster than a family carrying buckets.
Weather matters too
A strong onshore wind and low pressure push the sea higher up the shore than the table predicts; a calm, high-pressure day can give you an extra half hour. If waves are already slapping the rocks you meant to explore, choose another day or another beach — the pools will still be there next spring tide.
Two more things worth checking before you pack the car. Bright midday sun flattens the water and hides everything under glare, so an overcast morning or a late afternoon often shows you far more. And rain the night before can make the rocks genuinely treacherous, so treat a wet forecast as a cue for grippy shoes rather than a reason to cancel.
Pick the right beach
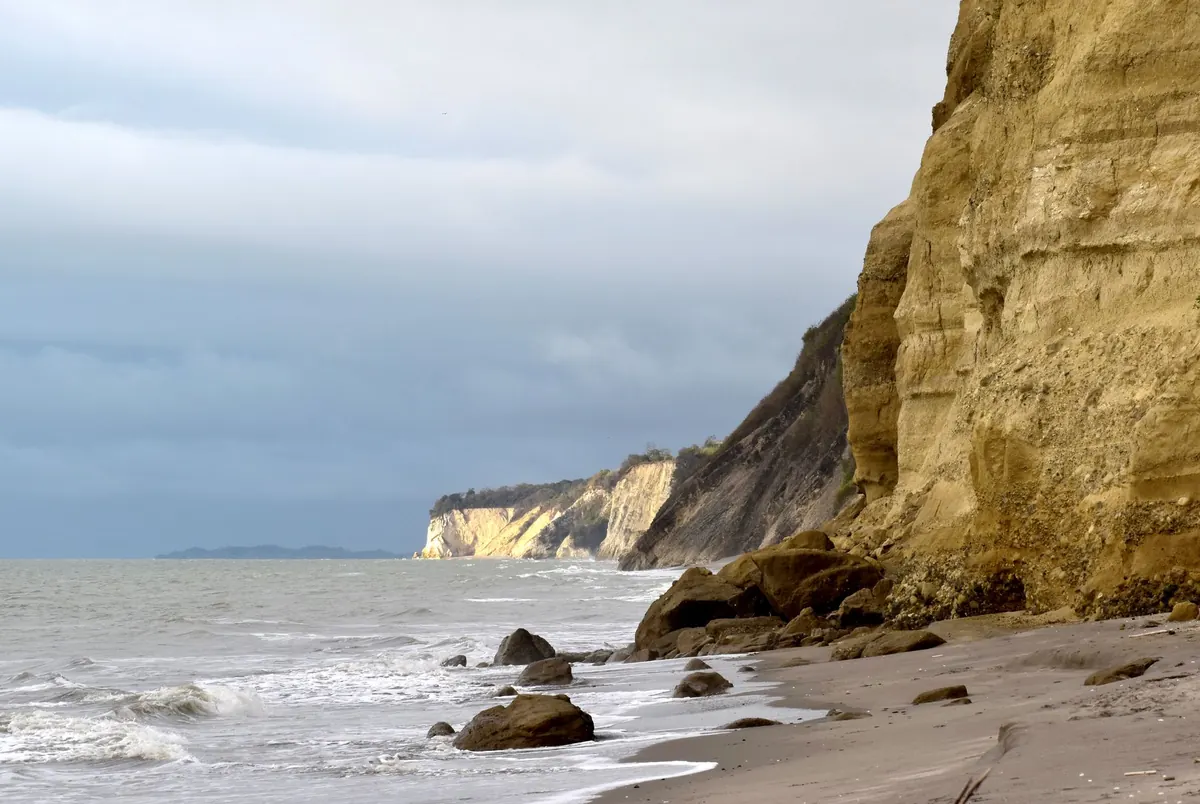
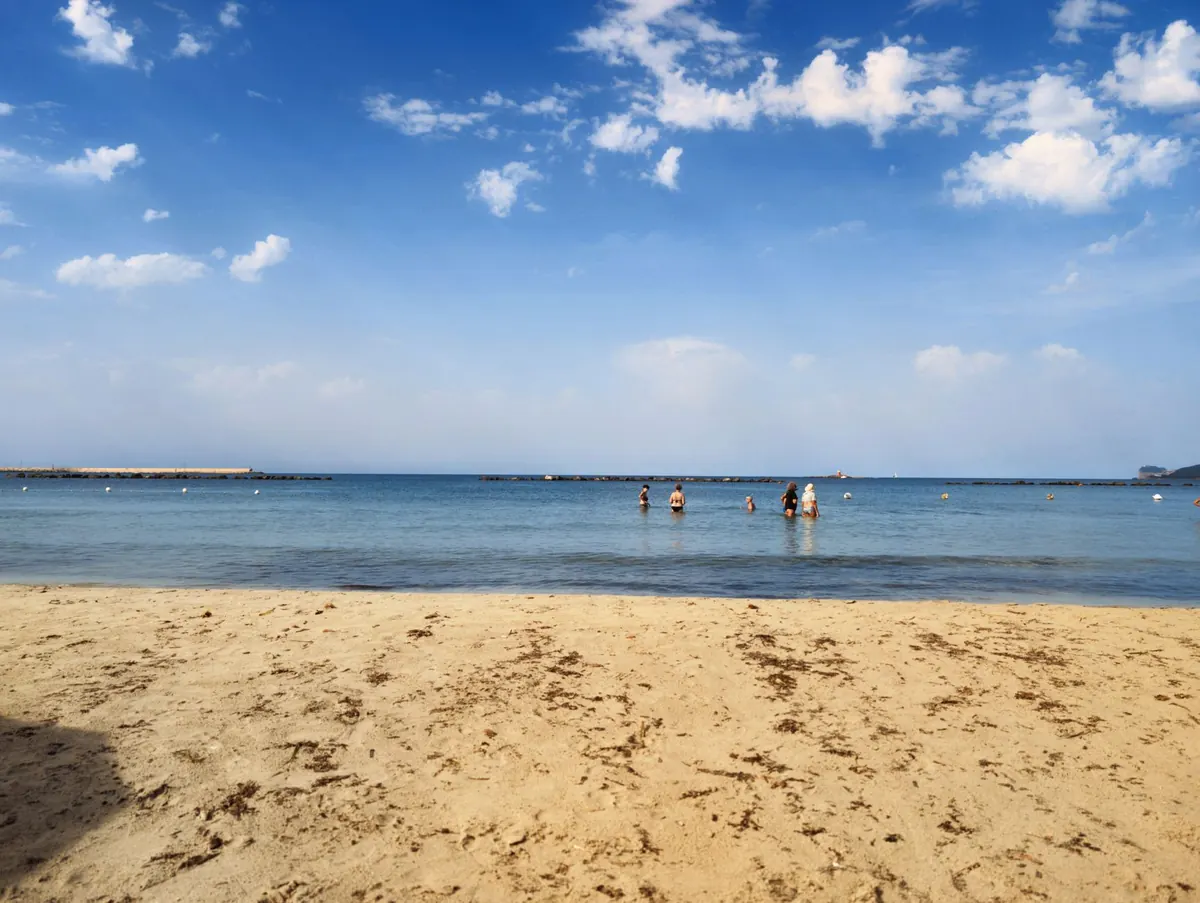
Not every seaside has pools. Long sandy beaches are wonderful for castles and useless for crabs. What you want instead is a rocky shore: boulder beaches, old harbour walls, the flanks of a headland, and those gullies that fill and empty with each tide. Aerial photos are a decent shortcut — look for dark, broken ground at the water's edge rather than a smooth ribbon of sand. The best pools are often not the big obvious ones at the front, but the deeper, weedier ones tucked behind a ridge of rock, which hold water and life long after the tide has left.
The kit is smaller than you think
You can spend a lot of money on rockpooling equipment. You don't need to. A short list covers almost everything:
- A clear tub or tray — a plastic washing-up bowl or a clear storage box works better than a bucket, because you can see through the sides. Half-fill it with sea water from the pool itself.
- A small net — the fine-mesh kind sold for aquariums, not a heavy fishing net. Sweep it through weed and you'll catch shrimps and tiny fish that would otherwise vanish.
- Shoes with grip — old trainers or proper rock shoes beat wellingtons, which fill with water and slide on wet weed. Bare feet are a bad idea on barnacles.
- A magnifier or a jam jar — a cheap hand lens turns a boring grey pebble into something with legs.
- A phone or camera, ideally in a waterproof pouch, plus a sun hat and a drink. Rockpooling is more tiring than it looks.
Leave the fishing net, the spade and anything with a hook at home. You are visiting, not harvesting.
Staying safe on slippery rock
Most rockpooling injuries are unglamorous: a twisted ankle, a cut hand, a soaked child. A few habits keep the trip boring in the best way.
- Never turn your back on the sea. Set one adult to watch the water, not the crabs, and agree a whistle or a shout for turning round.
- Keep off the wet, dark green weed. It is effectively ice. So is the film on rocks that were underwater ten minutes ago.
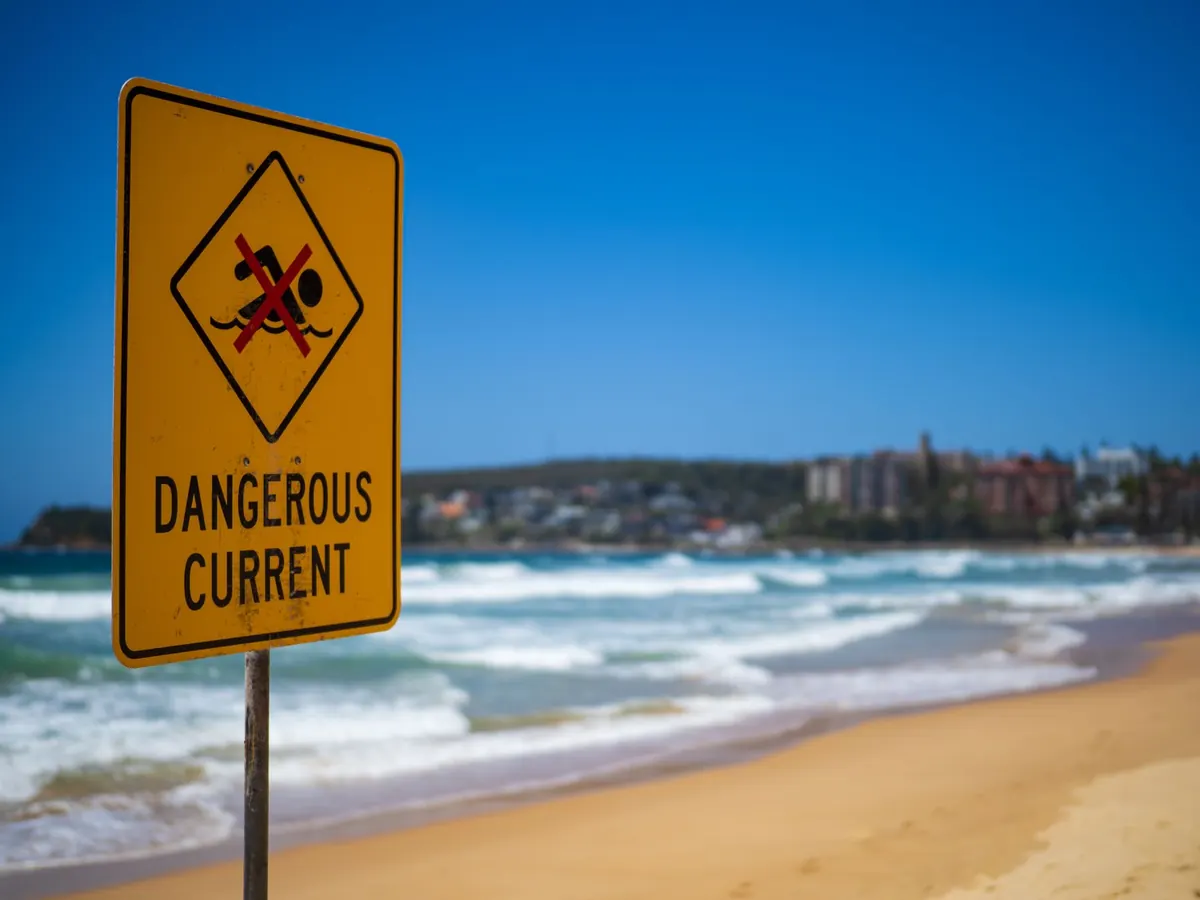
- Watch for a wave that reaches further than the last. Sets of larger waves arrive in groups; if one soaks your boots, it's time to move up the beach.
- Stay away from deep gullies and overhangs where a sudden swell could box you in.
- Cover cuts with a waterproof plaster and wash hands before eating — salt water is not sterile.
- Shuffle through shallow water on sand rather than stamping, so you don't stand on a weever fish, and give jellyfish and sea urchins a wide berth.
Where the animals actually live
A rocky shore is stacked in layers, and once you can read them you'll find something in every direction you look.
- High up, near the dry line: periwinkles and limpets, clamped down and waiting for the water to come back.
- The middle band: barnacles, mussels and dog whelks. Look closely at a mussel shell for the neat drilled hole of a whelk.
- Lower down, in the weed: shore crabs, shrimps, blennies, brittlestars. Shake a clump of wrack gently over your tray and see who falls out.
- The deepest pools and overhangs: beadlet anemones, cushion stars, edible crabs and, if you're lucky and quiet, a small octopus or a pipefish.
The trick with all of them is patience. Sit still for two minutes and the pool starts moving again; splash about and everything hides.
Look, don't take
This is the part that determines whether you've taught your children something or just taken them shopping. In the UK, looking is almost always fine; taking is another matter, and some shores — nature reserves, Sites of Special Scientific Interest and marine protected areas — have their own rules. Check locally, and keep the following in mind.
Look closely, put every stone and animal back exactly where you found it, and leave the shore as you'd hope to find it. Nothing you carry home in a bucket will do as well as the rock it came from.
- Return animals within a few minutes. A pool is warm and oxygenated; a bucket in the sun is not.
- Never prise a limpet off. It clamps down hard, and pulling it away usually kills it.
- Lift starfish and anemones with wet hands, or not at all — and always put them back the right way up.
- Turn rocks back as you found them. An upside-down stone is a roof removed for everything sheltering beneath it.
- Leave shells, egg cases and mermaid's purses. They're homes and nurseries, not souvenirs. A photograph lasts longer anyway.
Turn it into something that lasts
The best rockpooling trips don't end at the car park. Give each child a small notebook and let them draw what they saw rather than what they think they saw — the drawing is where the looking happens. Photograph anything you can't identify, note the pool it came from, and look it up that evening.
Once you have a few names, the shore stops being a jumble of grey and becomes a map: this is the wrack zone, that's where the crabs hide, this is the pool that always has the biggest anemone. Go back to the same beach through the year and you'll notice the seasons shift — the weed grows, the shrimps swarm, the starfish turn up in the shallows.
Then do the tide table again, and go back. That's the whole trick. Rockpooling isn't a day out; it's a place you get to know, one low water at a time.
Photo: florendia / Pixabay
Related posts
More stories you’ll love reading